In the world of carpentry, a fixer-upper would be a house that needs fixing. However, in the world of fabric art, fixer-uppers are the things we use to make the fixes. When you need to undo a major mistake – also known as boo-boos – or get to places where a sewing machine cannot, these three little things are how to fix quilting mistakes.
I would strongly suggest that you have these things in your sewing kits, as a true fabric artist cannot do without them.
These three little helpers can turn a so-so project into a WOW project and a, “how did they do that?” project, because they make mistakes either inconsequential or completely invisible.
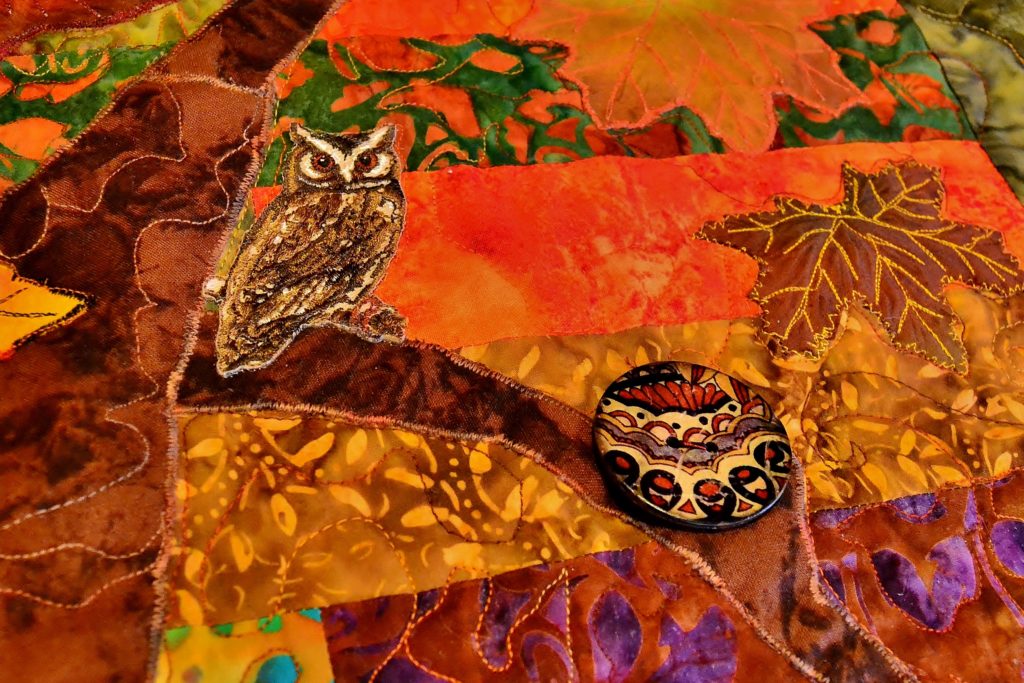
Curling leaves, missed stitches, and contrasting colors are all potential mistakes – but you can’t see any of them here
#1 How to Fix Quilting Mistakes Using Fabric Glue
This stuff is absolutely invaluable and completely necessary in fabric art, because not only are you not infallible, neither is your sewing machine.
Accidents happen; accept this, stop beating yourself up over them, and learn how to fix quilting mistakes.
Fabric glue is your #1 fixer-upper. I’ve noticed that some fabrics have a much higher fray rate than others, and if you stitch them too close to the edge, or if your stitch length is just a tiny bit too loose for that particular fabric, it will fray right through the seam.
The heck of it is that it doesn’t happen right away. It waits until you’ve sewn down all around it and it’s almost impossible to get that exact spot back under your machine.
Now what?
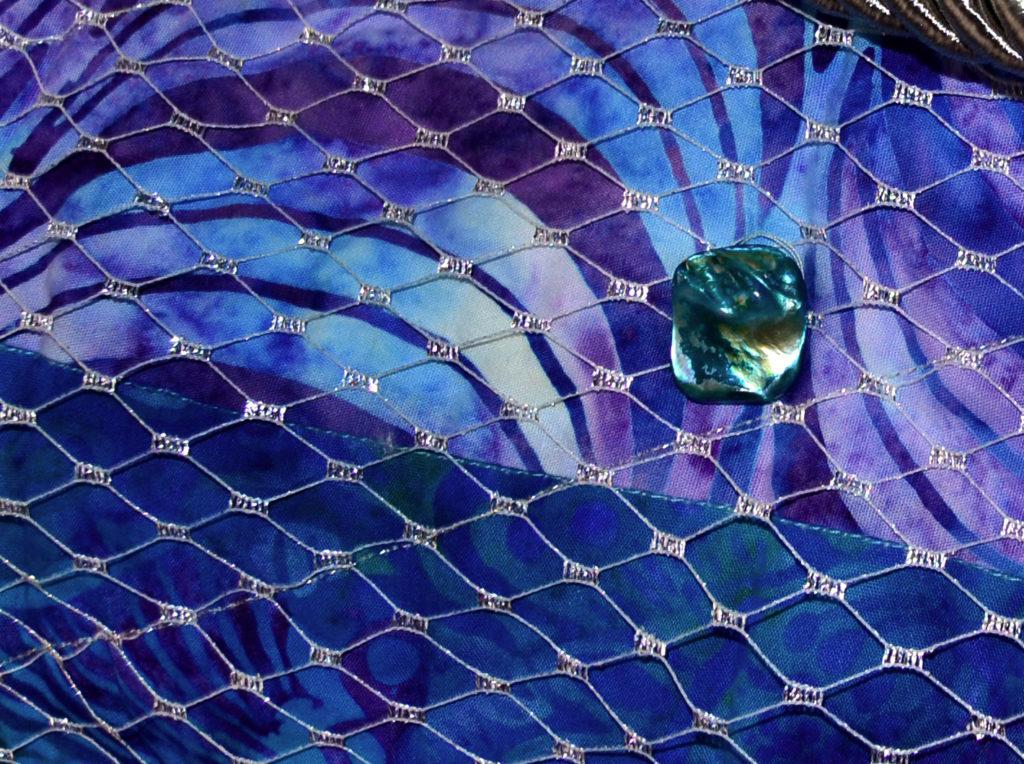
There are dozens of different accessories that need to be held fast with fabric glue. 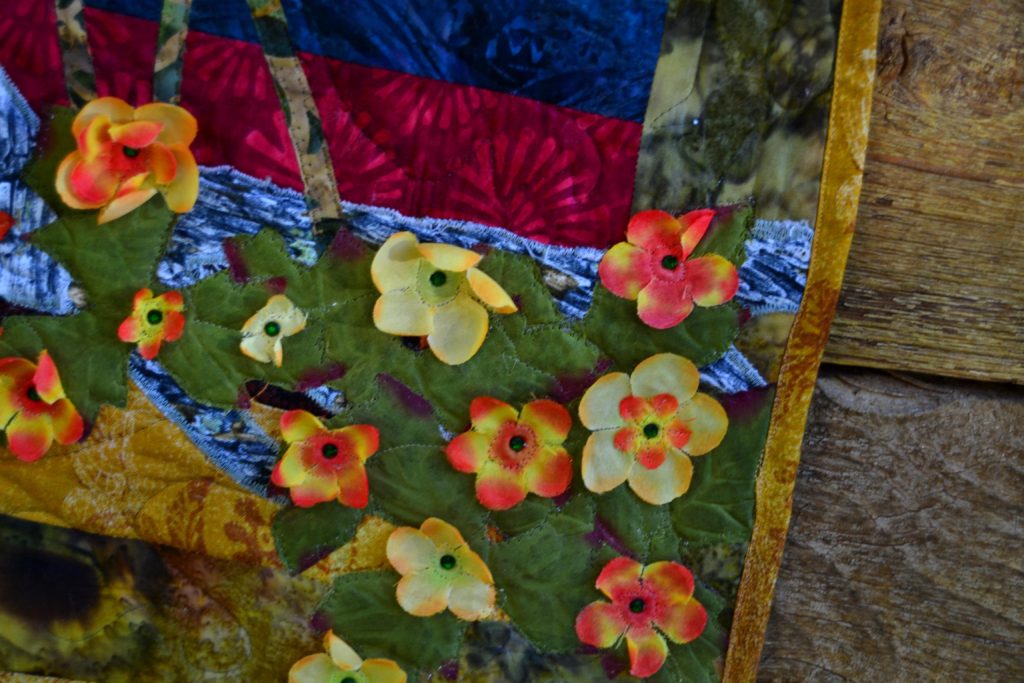
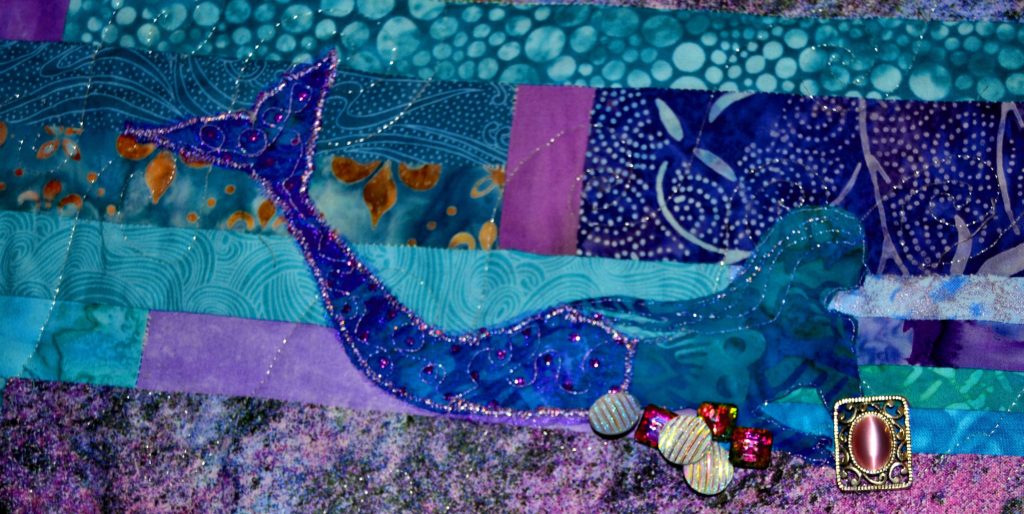
I had a ton of this type of trouble with my dragon quilt. I was sashing with black Kona fabric and even though I checked every seam as I finished it and everything, every time I turned around, there was another place that had let go.
I was using a few creative curses by the time I finished! But fabric glue was my salvation here.
What Fabric Glue to Use – and How
I use either Aleene’s Fabric Fusion or Aleene’s Okay to Wash It glue. Both work equally well, dry invisibly, and hold through endless washings.
This is tedious work, so Leiajoy does most of my gluing for me, and she likes to use a toothpick to maneuver the drops of glue around until she has it exactly where she wants it.
This fabric glue takes approximately 24 hours to dry and then it’s fixed.
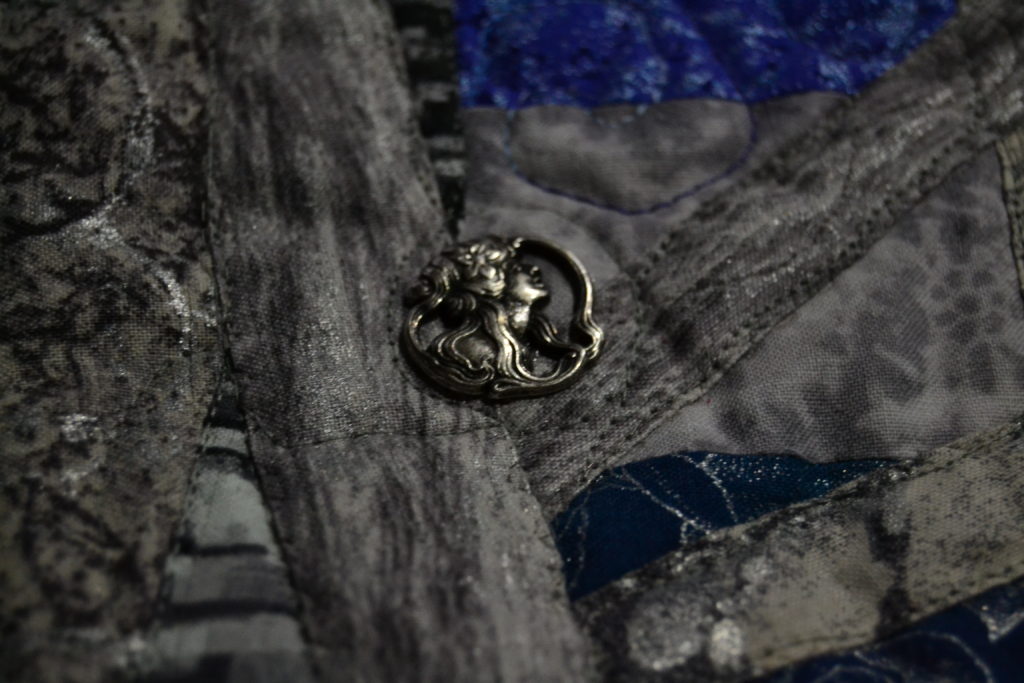
I also use the glue as an extra hold for buttons, beads, etc. that I have sewn onto my creations because it is extra insurance that these items will never come loose. On the backs of projects I use a drop on the thread knots from sewing down these same buttons and beads to insure no coming loose.
I also use it on the back if I have gone too fast during some of my free-motion quilting and the bobbin thread got too loose and isn’t holding tight enough..
Rather than ripping it out and trying to maneuver the entire project back under my machine I just glue it and was-la! It will never come loose!
My advice is to get some of this amazing stuff and use it!
#2 How to Fix Quilting Mistakes Using Permanent Fabric Markers
This is not a specialty quilt store pen – these are those packs of bright Sharpie markers that you see every year in kids’ back-to-school supplies.

These babies can become your best friends if you’ll let them.
They are the perfect solution for creating realistic illusions, finishing off things too tiny to sew, and marking out mistakes.
You can get these anywhere – I bought a 24 color set from Walmart. I also got a few gold and silver sparkly ones as well because I use so much bling.
However, for fixing quilting mistakes it’s the darker colors I use the most though, like black, navy, and brown. I use these in a number of different places.
First of all, if you sew your regular seams with beige, every now and then that beige will show through in the front of your project. Just use a matching marker and color over the beige and its gone – like magic! Very useful!
This trick is also very useful on your backings.
If your backing is a dark fabric – like black but you are using a light thread to quilt it from the top, sometimes that top thread will show through on the back. Once again, just use a matching fabric marker and color over the lighter thread and it vanishes!
Stopping Mistakes Before They Are Mistakes
I especially like these fabric markers for finishing off places on my custom appliques that are too small to sew.
For instance, the silhouettes of the smaller dragons on my dragon quilt had scales and claws on their necks, tails and feet that were just too small to both cut out and sew and yet they were essential to getting the right look.
This was a potential disaster, but I didn’t panic, because I know how to fix quilting “mistakes” like this.
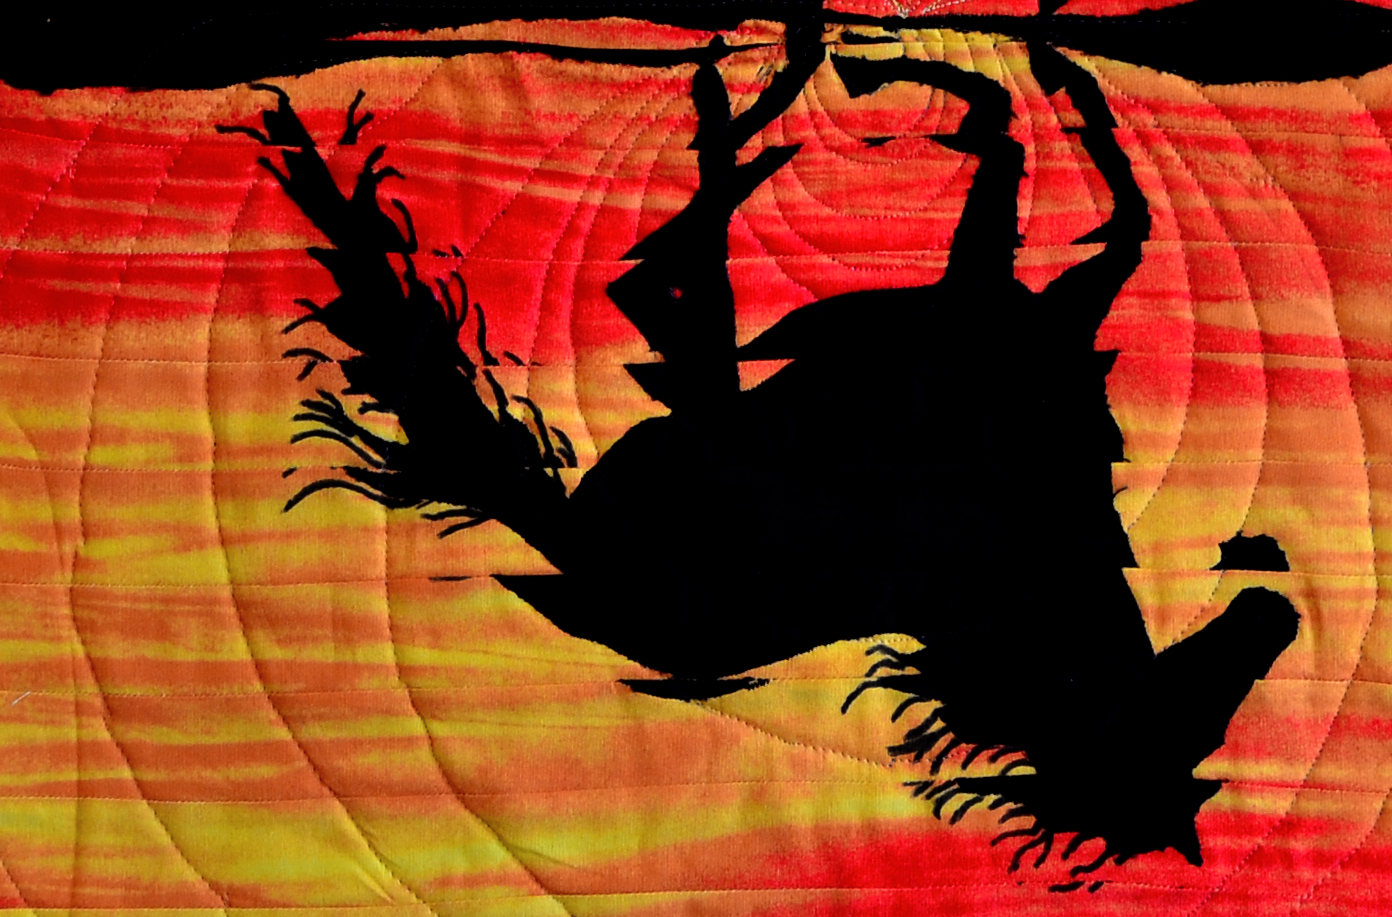
I simply cut out the dragons without these accoutrements and appliqued the dragons. When that was done, I went back with a black marker and using the original picture as a guide just drew in the elements that were missing.
Ta-da!!
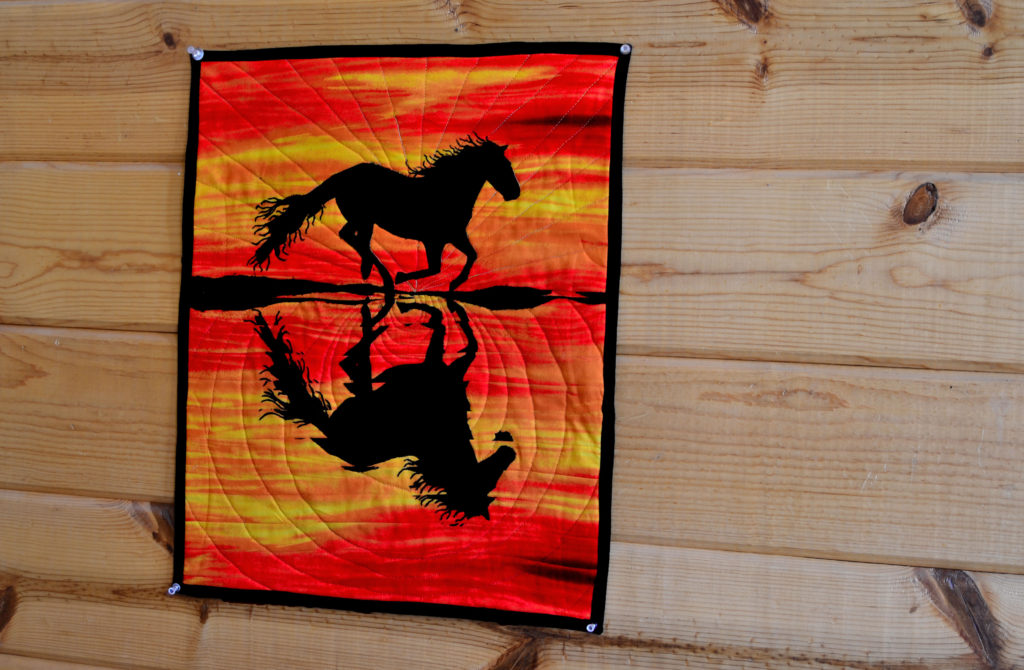
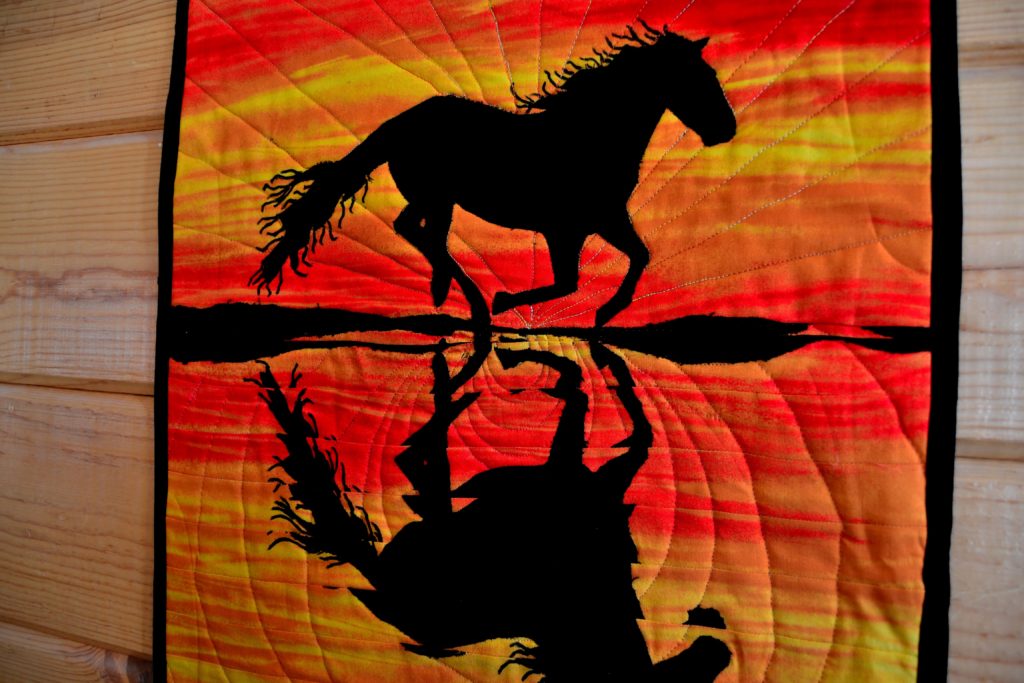
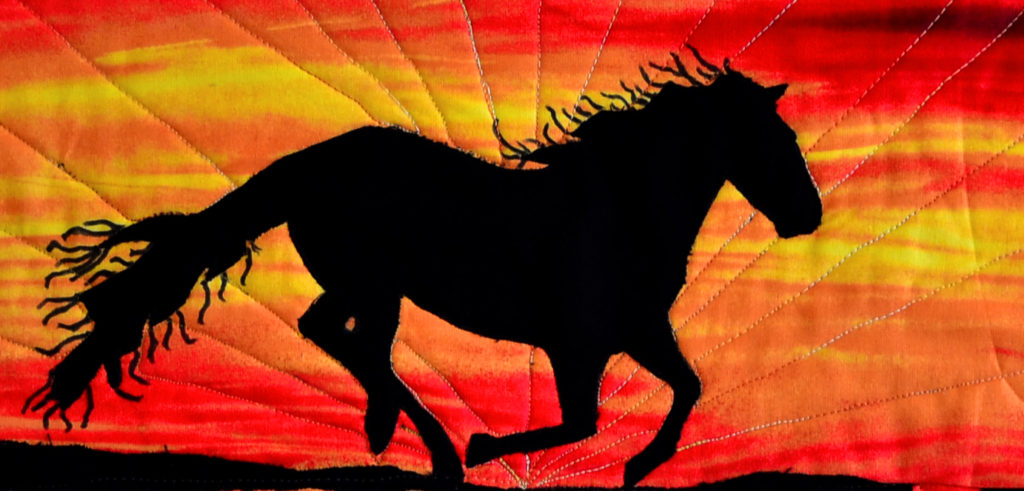
I did the same thing on my ‘Running Wild’ panel with the horses’ mane, because all those little wisps of hair were just too much to both cut and sew.
Other than the Dark Colors
This is easiest with black silhouettes, but you can really accomplish it with any color.
Depending on the fabric you use, you might have to color in once, wait an hour or so and then re-do it, as some fabric absorbs the color more than others, but it is certainly well worth the time.
Finally, I also use fabric markers on the backs of my projects if I have sewn something down by hand and the thread color I used doesn’t match the backing fabric. Sometimes, it’s more important to match your thread to the front than the back, and when this is the case, a magic marker makes all the difference.
I used this trick on my ‘Ocean Maidens’ quilt when I sewed the silver buckle onto the front.
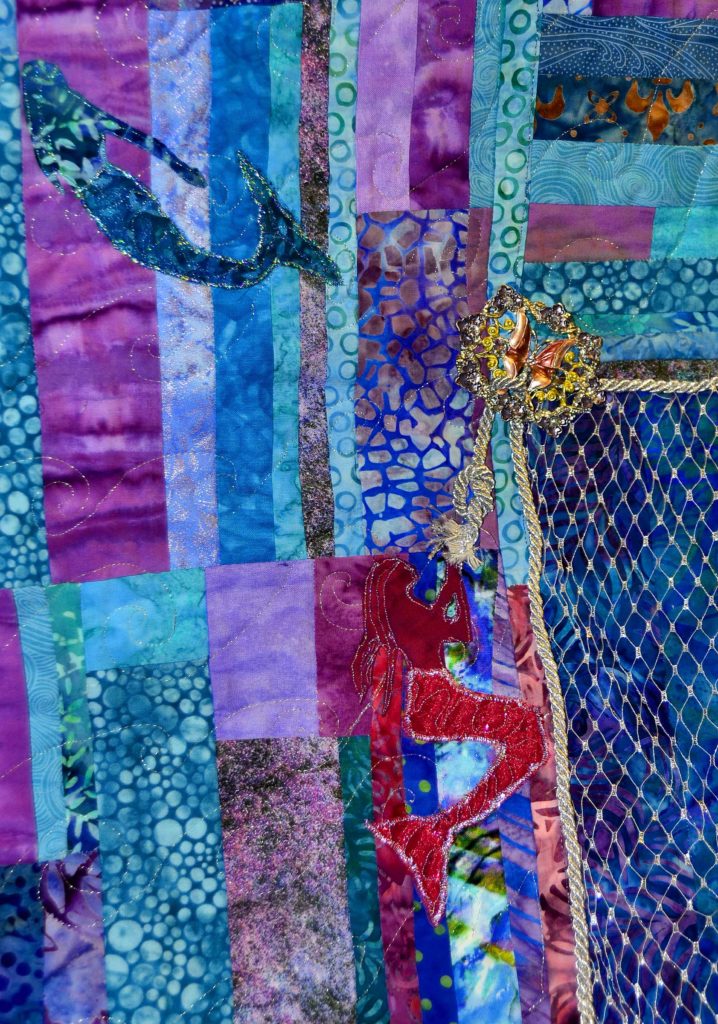
I had to use silver thread so it would disappear on the front, but of course, the silver thread was glaringly obvious on the back – so a lilac colored marker came into play – and Bob was my uncle!
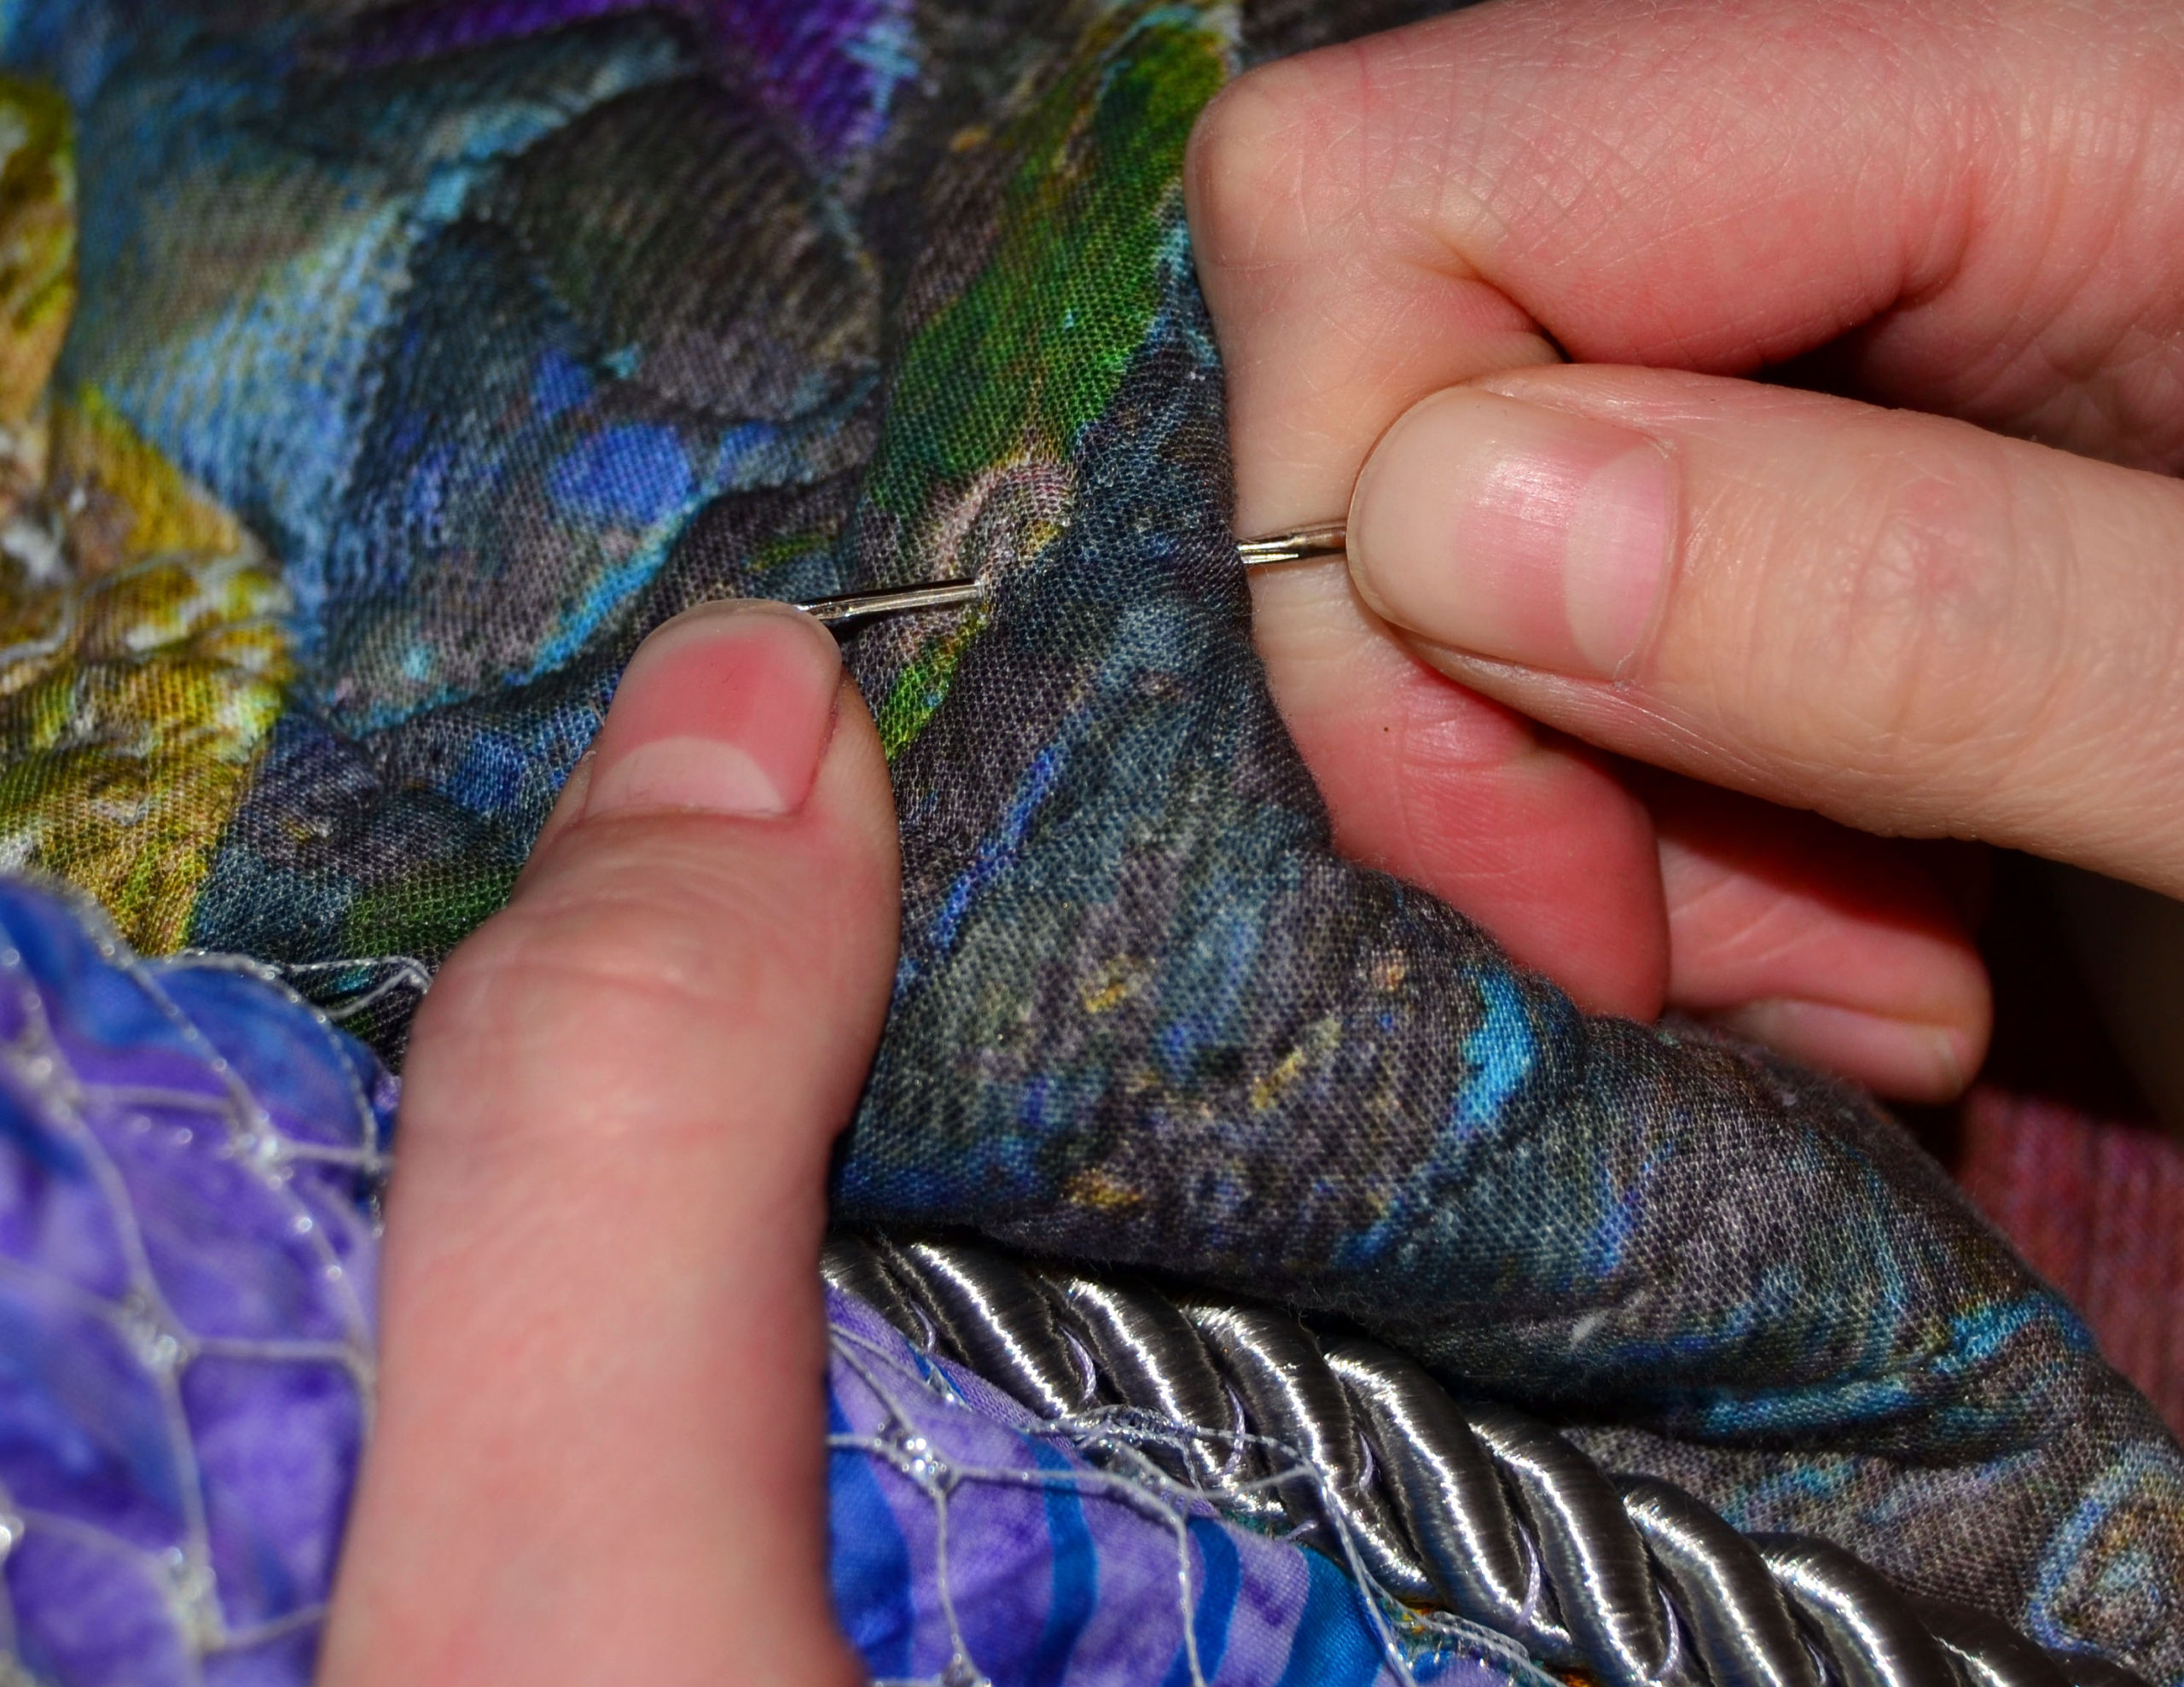
#3 How to Fix Quilting Mistakes Using Hand Sewing
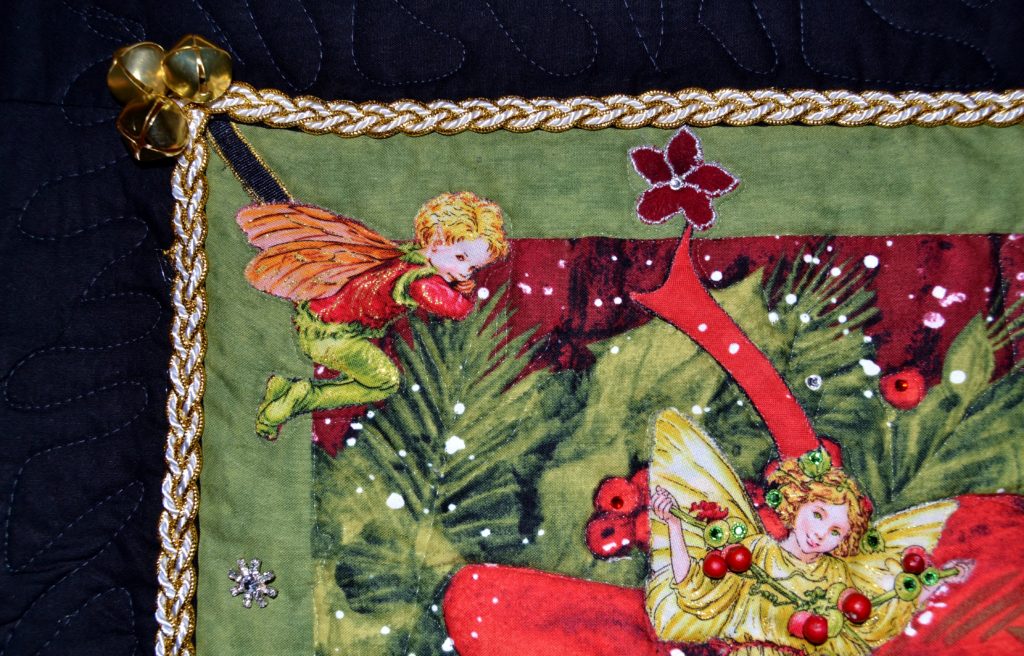
As much as we would prefer to do everything with our machines because they are both faster and neater, there are times when the only way to get something done is by hand. There’s a lot of detail to hand-sewing, way too much to cover here, so I’ve given it its very own blog ‘Hand Sewing; How and When’. It’s coming soon, and I’ll update you in the newsletter when it shows up.
Until then, remember to keep some hand-sewing needles in your pincushion, and a small pair of scissors around for clipping loose ends.
So those are my three favorite fixer-upper tools when I need to figure out how to fix quilting mistakes. I always have these products around, and roughly seven times out of ten I can fix a potentially major boo-boo without little or no trouble.
