Learn How to Make Cute & Easy Irish-Inspired Mug Rugs / step-by-step green & Celtic tutorial
A traditional way to celebrate the fun and festive holiday of St. Patrick’s Day is to wear something green. Here at Princess YellowBelly we want to take it a step further, and challenge you – and ourselves – to make something green.
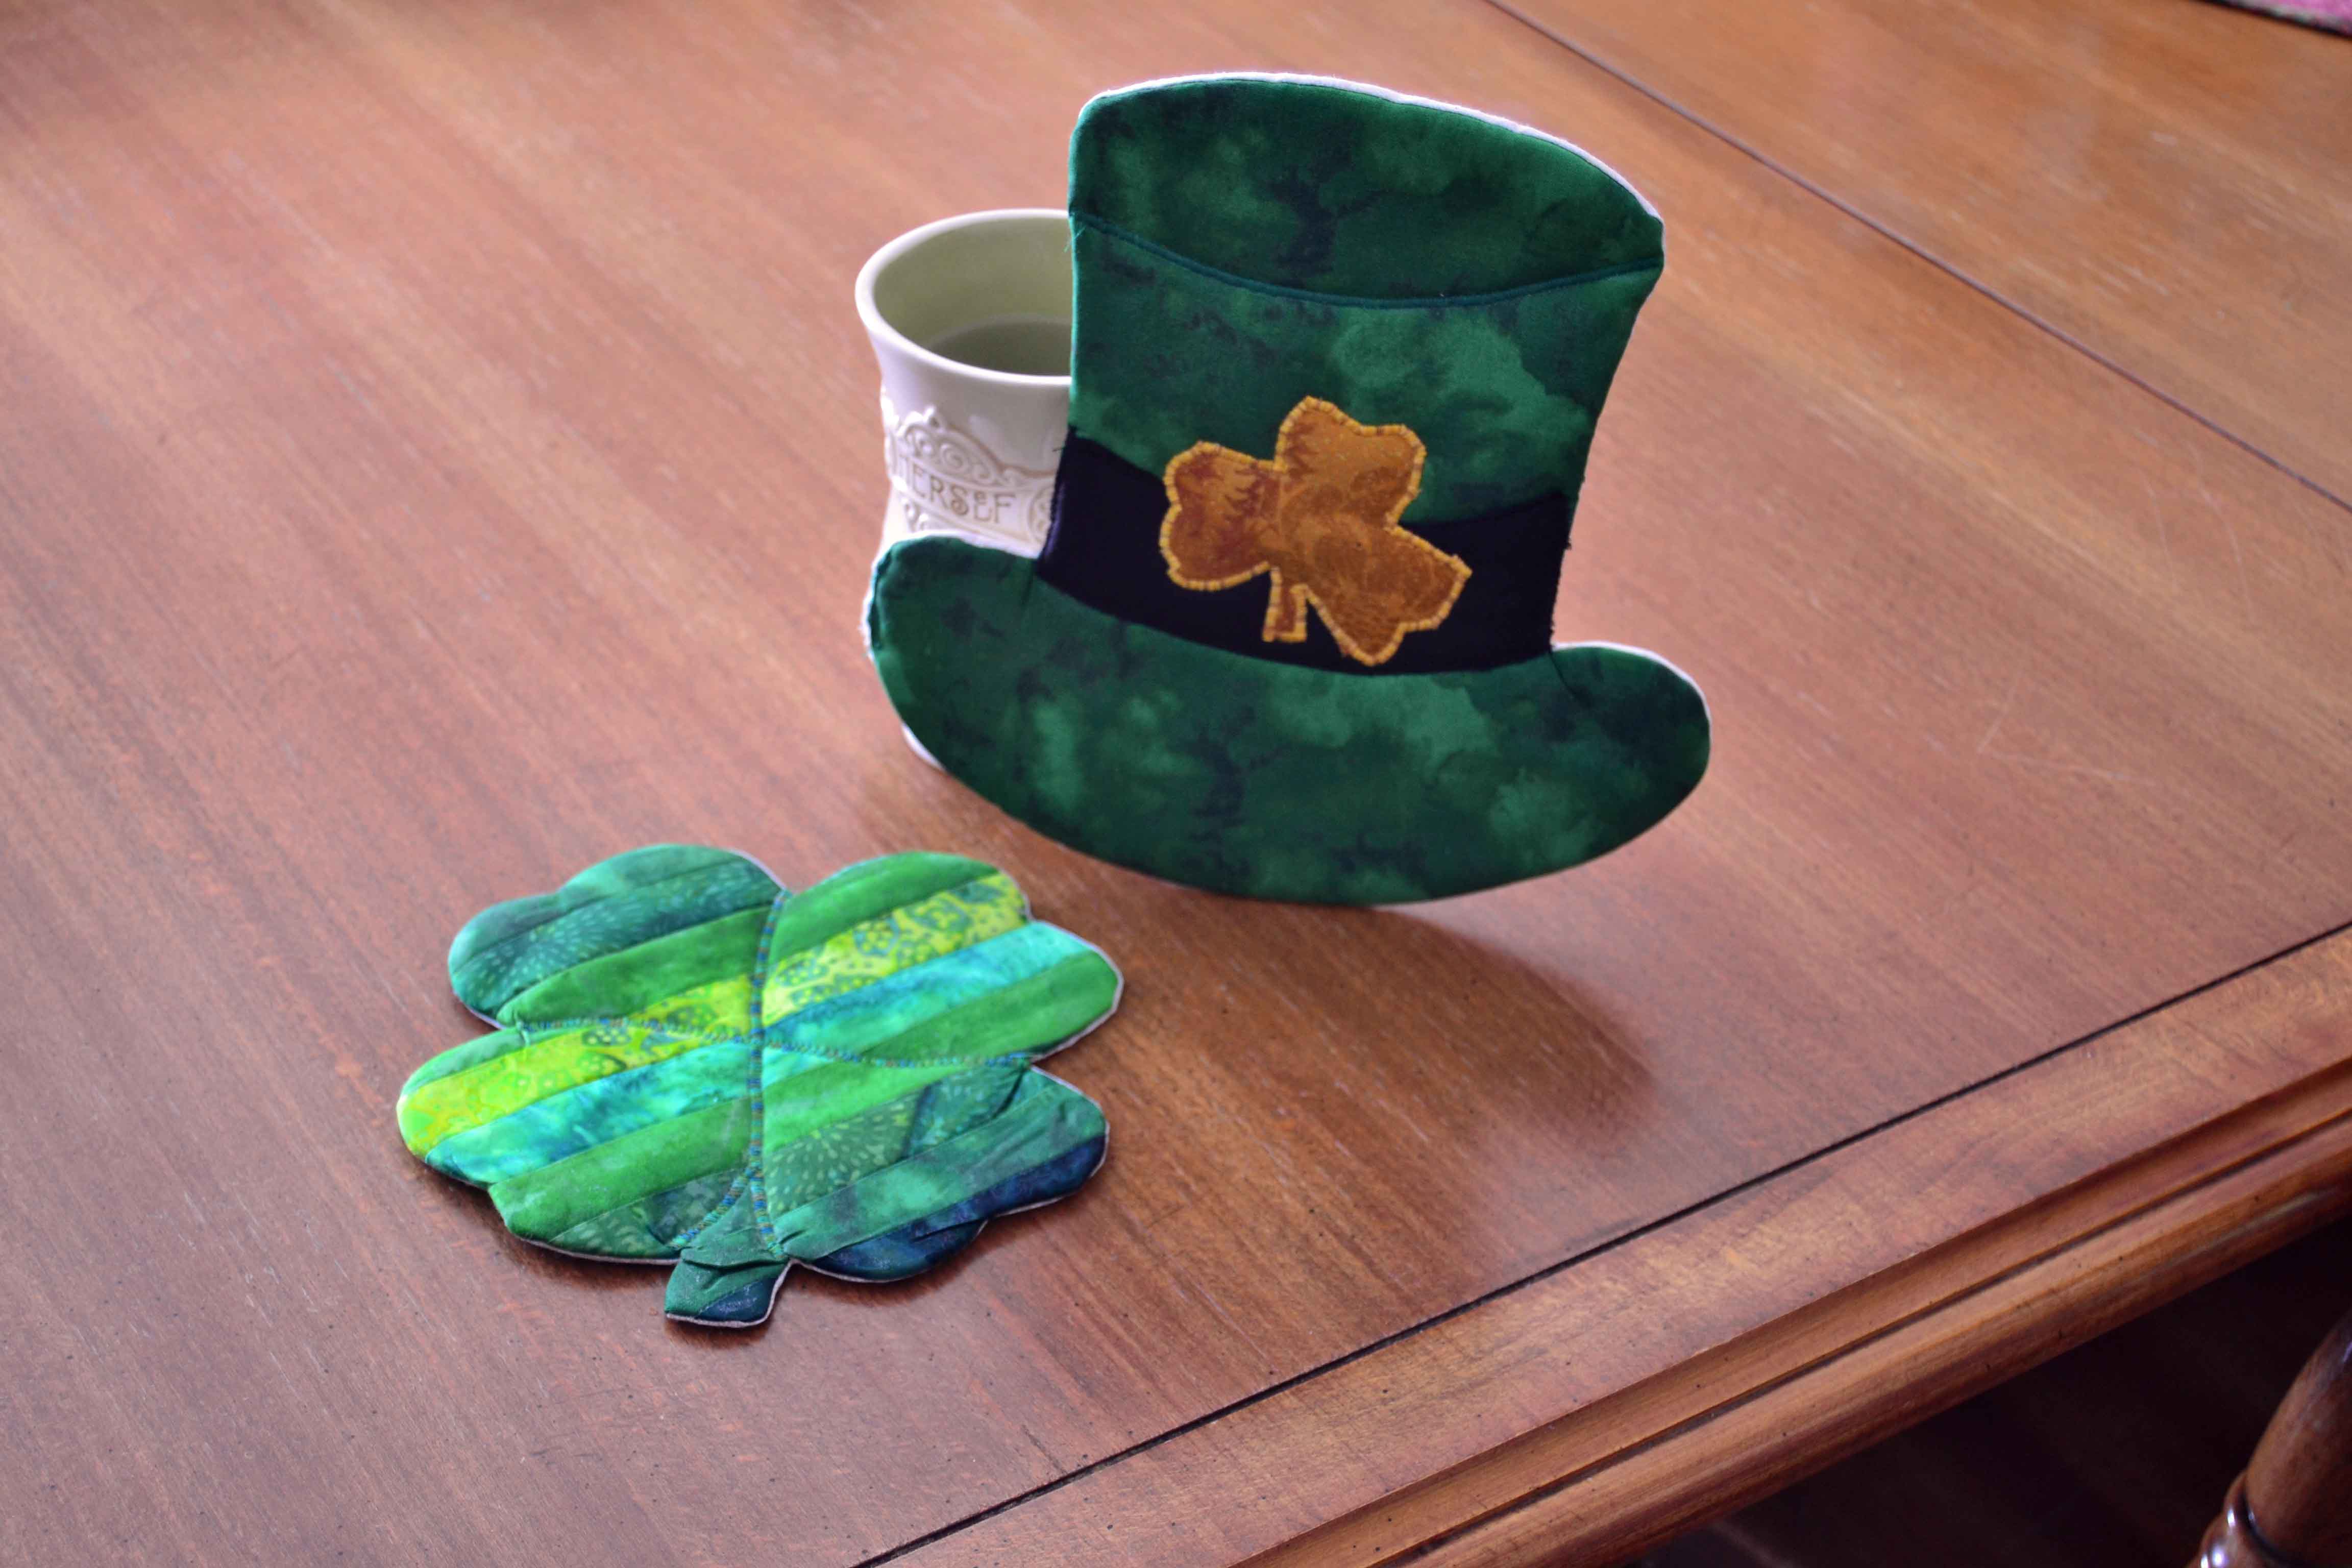
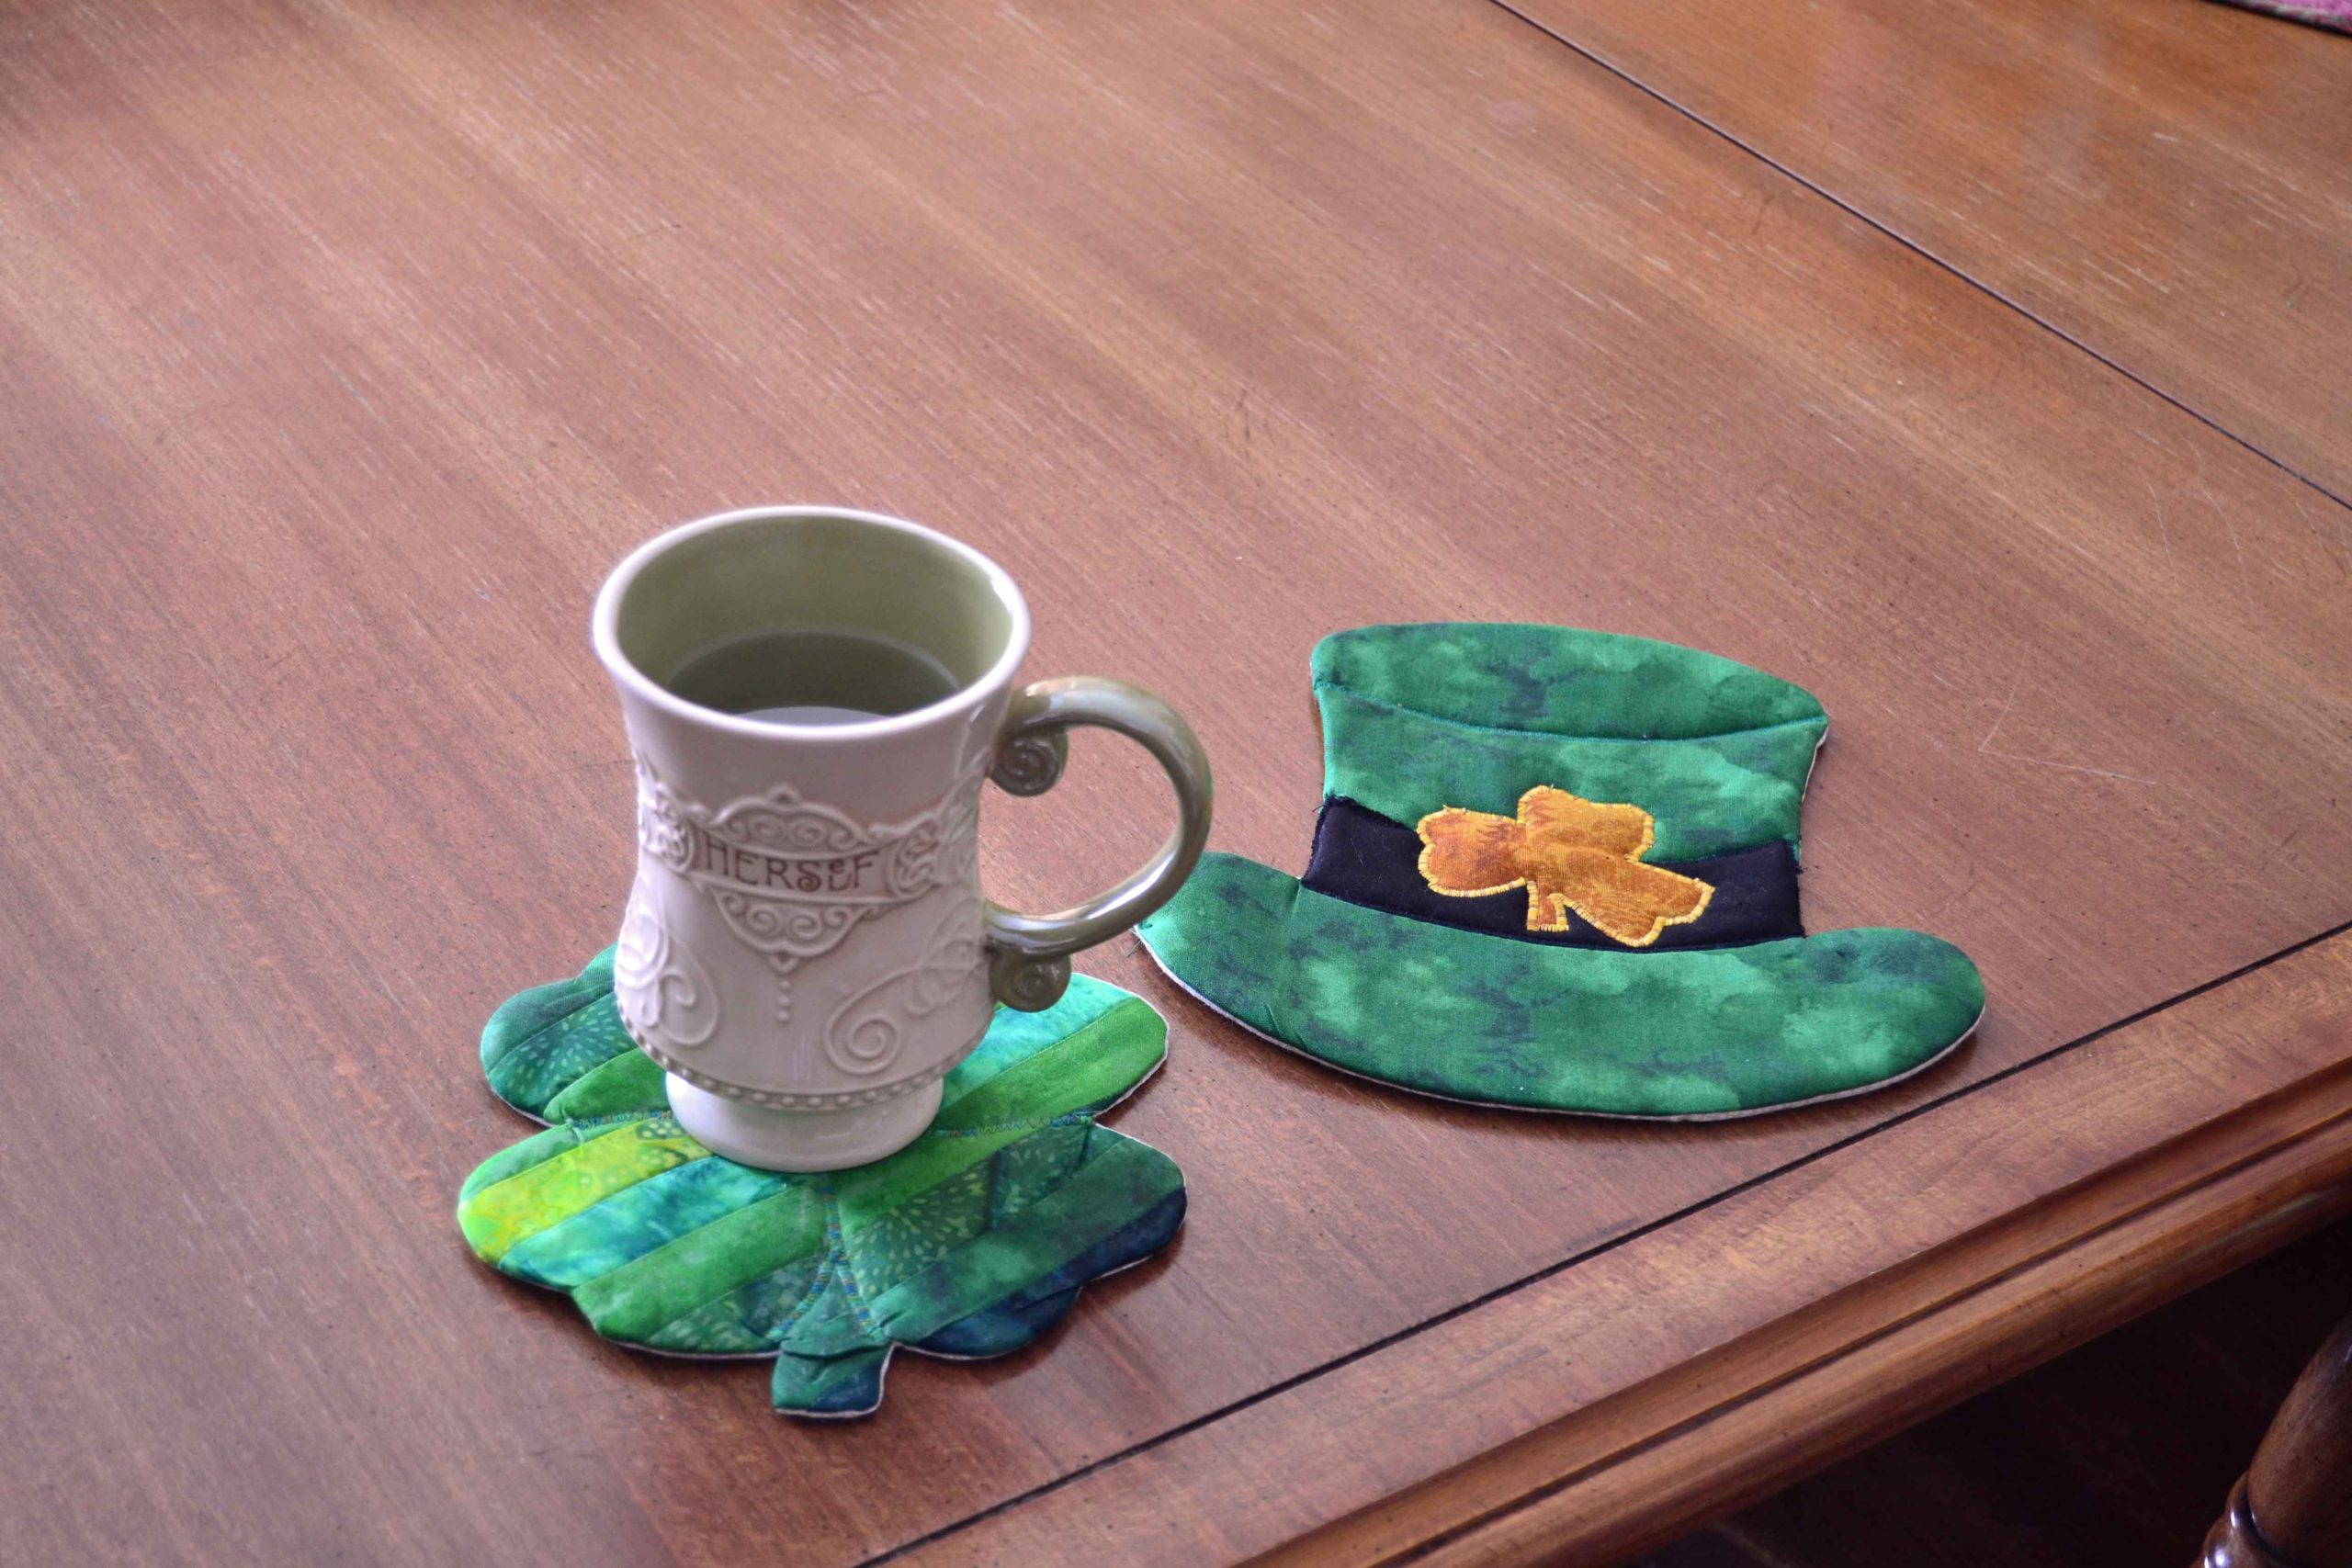
We’ve made two mug rugs [aka potholders or hot pads] that are green, Irish-inspired, and just plain fun!
These mug rugs are super-easy to make, and if you want to follow along, we’ll be posting the steps in the days before St. Patrick’s Day (March 17, 2022), if you want to follow along. Or make up your own green piece of Irish magic! Table toppers, your own mug rug design, crochet, knitting, felting…let’s just have some fun with it!

Shamrock Mug Rug Day 1: Steps 1-4
Of the two mug rugs we designed to celebrate St. Patrick’s Day, we chose to start with the Shamrock, because it’s the absolute easiest!
- Select 5-8 green fabrics ranging from light-dark
- Spray starch and iron green fabrics and your backing fabric
- Cut 1 ¼ inch strips from fabrics – you need 8 total strips at this width to create the right size for the shamrock, so if you only chose 5 fabrics (like we did), you need to pick a couple of colors to repeat. We chose to start at dark, go to light, and then build back up to dark for our shamrock strip set.
- Sew strip set together and iron seams flat
Shamrock Mug Rug Day 2: Steps 5-10
5. Construct turning slit in backing fabric (mark a 2-inch line down the middle of your backing fabric. Sew a narrow satin stitch all around this line, then cut the line open.)
6. Iron 2 layers of batting (these are mug rugs, so you’ll need the extra insulation)
7. Choose a shamrock template
8. Build your mug rug sandwich:
- Bottom – 2 layers of batting
- Middle – strip set right side up
- Under-top – backing fabric right side down
- Very-top – Shamrock paper template
- Pin all the layers together
9. Sew all around template leaving a ¼ inch allowance with the outside line and your stitching line.
10. Remove template – gently! If you can pull it loose from the stitching line without tearing it, you can use it again and again.
Or, BUY Something Green & Celtic


Shamrock Mug Rug Day 3: Steps 11-14
11. Cut out shamrock. Leave a ¼ inch seam allowance between where you cut and the stitching line. Snip the points – it’ll pucker if you don’t.
12. Turn shamrock right side out, gently, through the turning slit.
13. Gently push out the seams and points using a corner turner
14. Iron flat, front and back
FINISHING the Shamrock Mug Rug Day 4: Steps 15-17
15. Sew turning closed by hand! Use a hand sewing needle, matching thread, and a whipstitch.
16. Following the template lines, draw in leaf lines with chalk.
17. Quilt on lines (you can do this with a straight stitch for a quicker finish, or with a satin stitch in a brighter thread for a more stand-out statement)

